Misanthropy Meme: Origin & One-Photo Guide
Follow the Misanthropy animation from its early creator posts to a one-photo remake. Learn to frame the glances, time the red backdrop and fix drifting eyes.
What is the Misanthropy animation meme?
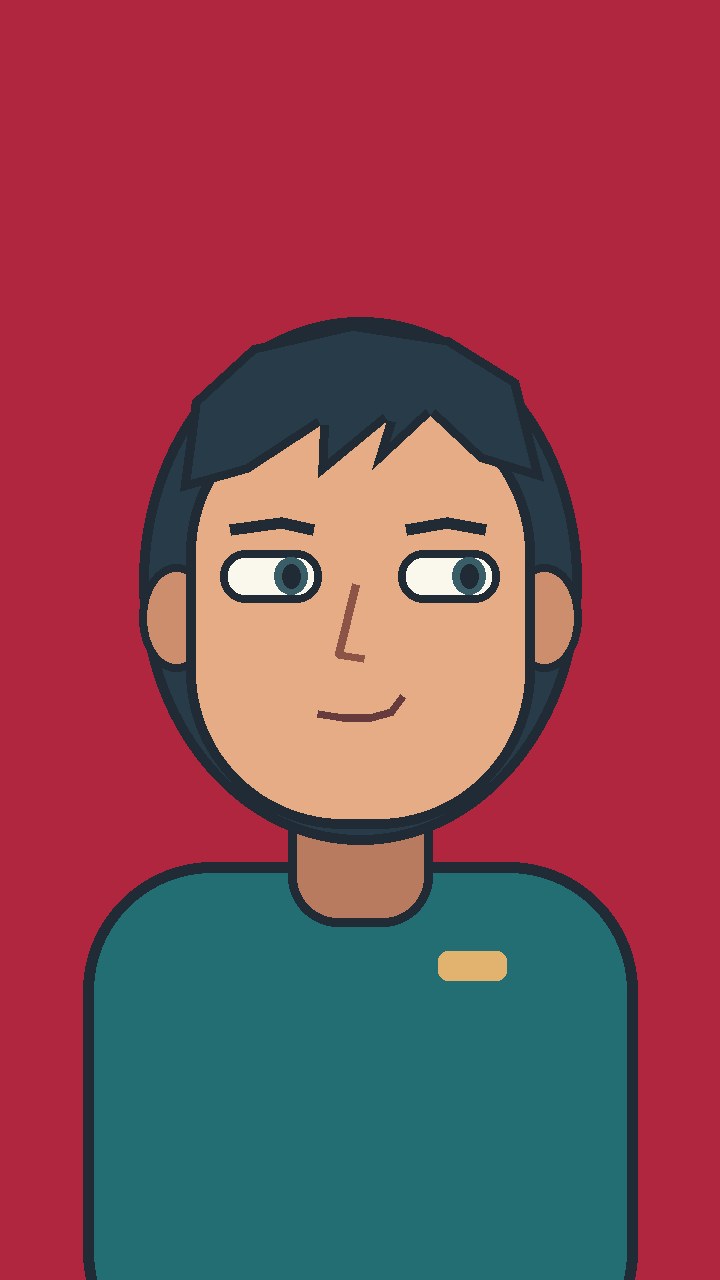
The Misanthropy meme is an animation reaction built around two sideways looks and a delayed grin. In a recognizable version, the character keeps its face nearly still on a gray background, then the backdrop turns red as the expression breaks. You can try the sequence with one clear portrait in the Misanthropy side-eye video workbench. Start with the looks and the pause between them. Those are the parts you need to see clearly before adding any color change or sound.
What does “Misanthropy is when” mean?
Misanthropy usually means a dislike or distrust of humankind. The meme opens like it is about to offer a serious definition, then gives you a character looking around and trying to keep a straight face. The title and the tiny reaction make the contrast. If you use a caption in your edit, leave a little time for it to register before the character looks away. A long explanation on screen competes with the pupils, especially when the clip is playing in a narrow feed.
The meme also works as an animation exercise. You can change the character, clothing or background while keeping the same basic movement. The face first gives viewers a stable point to look at. The two directions are easy to compare because the framing hardly changes. The grin changes the meaning of the expression at the end. A viewer who missed one of those beats might still see an attractive portrait, but the reaction will feel less deliberate. Treat the beat order as the part of the format you want to preserve.
Which original video can you trace?
A widely cited early animation is credited to POHOYOKO. MakeViral, Oeneo and Genjutsu point to a November 5, 2026 TikTok by the artist and describe the sideways looks and red-background grin. They point to this TikTok post. We could trace that attribution across the template pages. Direct access to the TikTok post was limited during our check, so the exact first use of the caption, the audio's origin and the post's current metrics remain open.
There is a separate, directly readable example from Matheo on Snapchat. The platform displays November 5, 2026 and identifies Matheo as the poster. His take uses cosplay and a deadpan delivery. It is useful for understanding how a different performer can carry the side-to-side joke while keeping the same idea. It also gives the trend a documented example outside the TikTok link above. For crediting an edit, keep track of which post supplied the visual idea and which supplied the audio, if you can identify both.
Why did the reaction spread to other characters?
A fixed camera and a small expression give animators room to reinterpret the scene. A character can be drawn in a different style and still work if the audience can follow the gaze. A person on camera can use their own expression, while an illustrator might make the eye shape and the change in the mouth more pronounced. A November 8 indexed tutorial listing and the appearance of multiple one-photo tools show how the idea moved into tutorials and photo edits. Those are examples of reuse, with their own dates and contexts.
Color does a second job. When the frame has stayed gray for both looks, a red backdrop makes the expression change obvious even when the video is muted. If every shot has a different palette, the final color stops feeling like an event. The same is true of the camera. A steady crop makes a few pixels of pupil movement visible, but a pan or push-in can absorb the movement into the overall shot. When planning an edit, decide what moves and what stays fixed before deciding how dramatic the ending should look.
The tool page includes a silent, hand-made motion reference. It demonstrates the intended order of the four beats. It is separate from a Pavo generation and does not establish how closely a new clip will follow the timing. For another one-photo workflow, see the Counting Money guide.
Which version should you try first?
| Version | Best starting image | What to check | | --- | --- | --- | | Illustrated red-screen reaction | A clear portrait or your own original character, with room around the head | Both looks finish before the red background arrives | | Deadpan close-up | An evenly lit frontal portrait with a relaxed mouth | The second look holds long enough to see the change | | Costume-inspired reaction | Your own photo with one clear accessory and both eyes uncovered | The accessory stays in place and does not obscure the pupils |
Start with the deadpan close-up if you want to find out whether the gaze reads on a phone. Leaving the background alone makes it easier to tell why the eyes are hard to follow. Choose the illustrated version when the backdrop and the character design are part of the idea you want to share. A plain red field usually gives the face more room than red lighting across the whole image. With an original character, you can keep one signature shape, such as the brow line or fringe, and spend the rest of the prompt on the movement.
The versions in this guide are creative directions to try. A viewable trend clip can help you compare timing. In Pavo's meme workbench, your own starting image and the text prompt are the creative inputs. An on-page video preview does not supply motion or audio to the request. Use the settings shown in the workbench to decide what format to generate, then inspect the clip you actually get.
How do you choose the photo?
Use a head-and-shoulders photo taken close to eye level. Both eyes should be visible, with light falling evenly enough to see each iris. Look for a frame in which the expression is relaxed and the head is facing forward. A slight turn can be fine for an ordinary portrait, but this setup needs you to compare how the pupils move in two directions. A deep three-quarter angle may hide the far eye. Strong reflections in glasses can make a stationary pupil appear to move.
Check the crop at the size you intend to share. If the head already touches the sides, a small change in framing can cut off the hair or cheek. If the face is tiny in the upload, the gaze may get lost at phone size. Keep a margin above the head and beside both cheeks, with the face filling enough of the center to read. For an illustration, keep the eye outlines clear and avoid crowding the face with background objects. Use your own art or an image you have permission to animate.
How do you write the prompt in shot order?
Describe the frame once. Start with a fixed view and a neutral expression. Use directions relative to the screen, so the words left and right have a clear reference. Say where the eyes go first and where they go next. Give the second direction time to register. Then tell the model when the smile begins and, if you want it, when the background changes. A written order gives you a concrete sequence to check, though the exact frames can vary between generations.
Red-screen prompt
Use a locked head-and-shoulders frame. Draw the subject as a flat 2D portrait with their recognizable hair and brows. On a gray background, hold a neutral face. Keep the head still as both pupils look screen left, then screen right. After the second glance, form a small grin and switch the background to solid red. Hold the final frame with no cut or zoom.
Deadpan prompt
Keep a fixed eye-level close-up with a plain gray background. Let both pupils move screen left, then screen right while the nose and chin remain in place. Pause on the second look, then lift one corner of the mouth a little. Keep the crop and lighting constant.
Upload the photo and add your prompt. Review the settings and quote shown for the run before you generate. A reference clip can be much shorter than the available Pavo output. If your result gives you a clean reaction with extra time before or after it, trim it in an editor. Keep the part where the face settles at the beginning and the brief hold after the expression changes. Compare the export at normal speed before deciding the pauses are too long.
What should you check in the finished clip?
Watch the clip once without audio at normal speed. See whether you could describe the two looks without scrubbing. On a second pass, pause at the initial neutral face, the first look, the second look and the grin. Compare the nose and chin positions to see if the head turned. Check the eyes together. Sometimes one pupil slides while the other holds still, or a reflection moves in a way that looks like a second pupil. Those are reasons to simplify before adding a busier backdrop.
If the head turns, make the next attempt with a frontal image and ask for the nose and chin to stay in the same place. If both glances merge into a quick twitch, ask for a pause at the second direction and review the gray-background version. If the face changes at the red frame, keep the lighting fixed and put the color change only in the background. Make one change per attempt, keeping the same starting photo when possible. That lets you compare whether the instruction helped instead of guessing which of several changes mattered.
Before making another generation, see whether the first result can be rescued in the edit. If the gaze already reads and the clip simply sits too long on the opening face, shorten that hold. If the grin is clear but the background never turns red, a clean cut to a separately colored end frame may be enough. If the pupils never reach one of the directions, trimming cannot supply that missing action. Put your next attempt into fixing the gaze. Save the original export and compare any edit against it at phone size, where a small change in crop can make more difference than a new effect.
Once the motion works, listen to the export. A clean pause after the second glance gives you a place to put an accent in editing. Choose a track you can use for your intended platform and audience, or keep it silent. When cutting to your own sound, set the accent after the gaze is readable and check that it does not cover the pause that sets up the grin. If the edit only works with a loud cue, review the muted version again and see whether the expression needs a little more time.
Can I use the original sound or re-create the exact timing?
The sources we reviewed do not establish a single audio history or a license for Pavo to redistribute the sound. A platform's audio attribution can help you locate a sound in that platform. For reuse, check what permission applies to your edit and where it will appear. If a platform lets you select a sound inside its own editor, check that platform's terms for your account and intended use. The Pavo upload workflow does not take the original clip as a motion reference, so use the ordering of the glances, the pause and the expression as your guide.
For a good first export, aim for two readable directions and one clear change in expression. A reliable sequence gives you more control than trying to hit exact timestamps while also changing the character style and background. Then decide whether the red frame, a caption or an audio cue improves the version you made. Upload one photo and try the Misanthropy reaction.